
Five Essential Tips for Cave Diving Line Laying. Master Reel Techniques
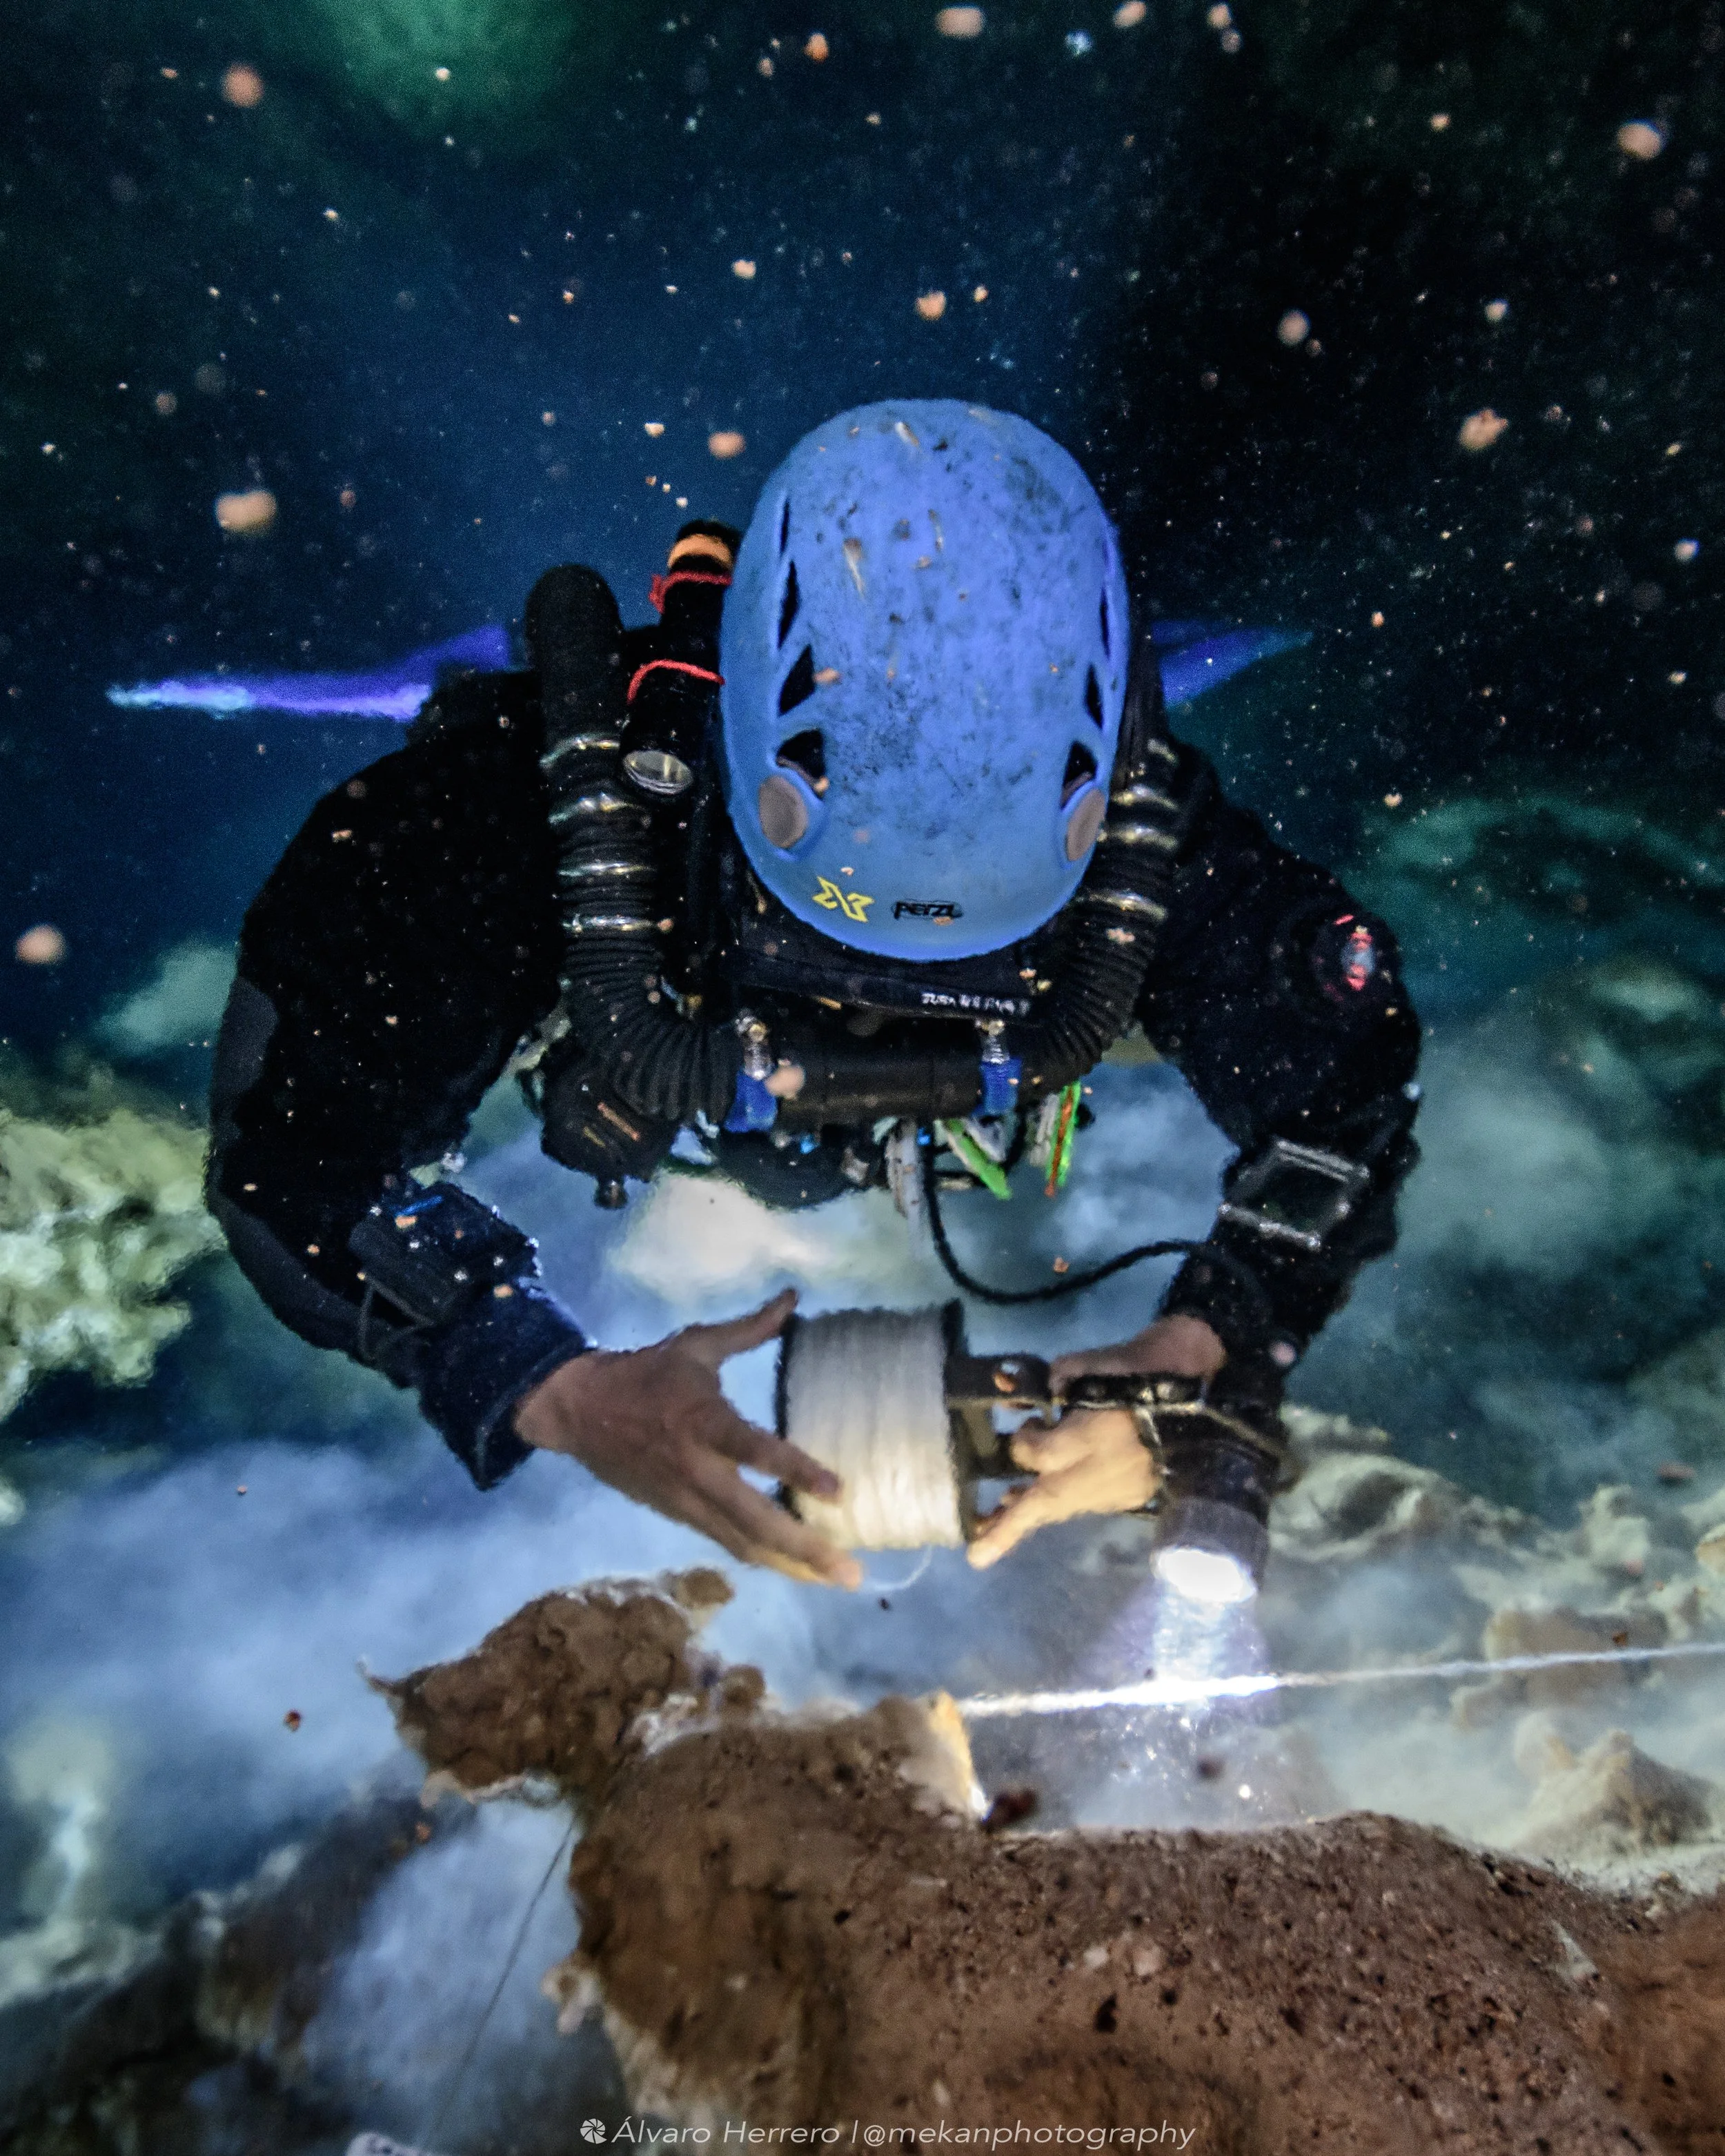
Working with the reel in halocline! (Photo by Alvaro Herero)
Running the reel, one of the most challenging aspects of cave diver training. It is probably the third day of training, your instructor has reviewed finning techniques, valve and gas sharing drills. You have successfully practiced blindfolded exits on land and in confined water. Everything is going well, you are feeling confident - challenged but nothing you can’t handle. Then line laying comes and suddenly that second hand exploration reel you bought doesn’t seem like a great idea after the land drill. In the water it is all you can do to focus on the line laying steps, total attention on making tie offs. When asked about other teams entering around you you realize you were completely focused on the task and had no awareness for anything around you - or even managing your side mount regular switches. If this sounds at all familiar, or you want to learn more about the art of line laying, read on!

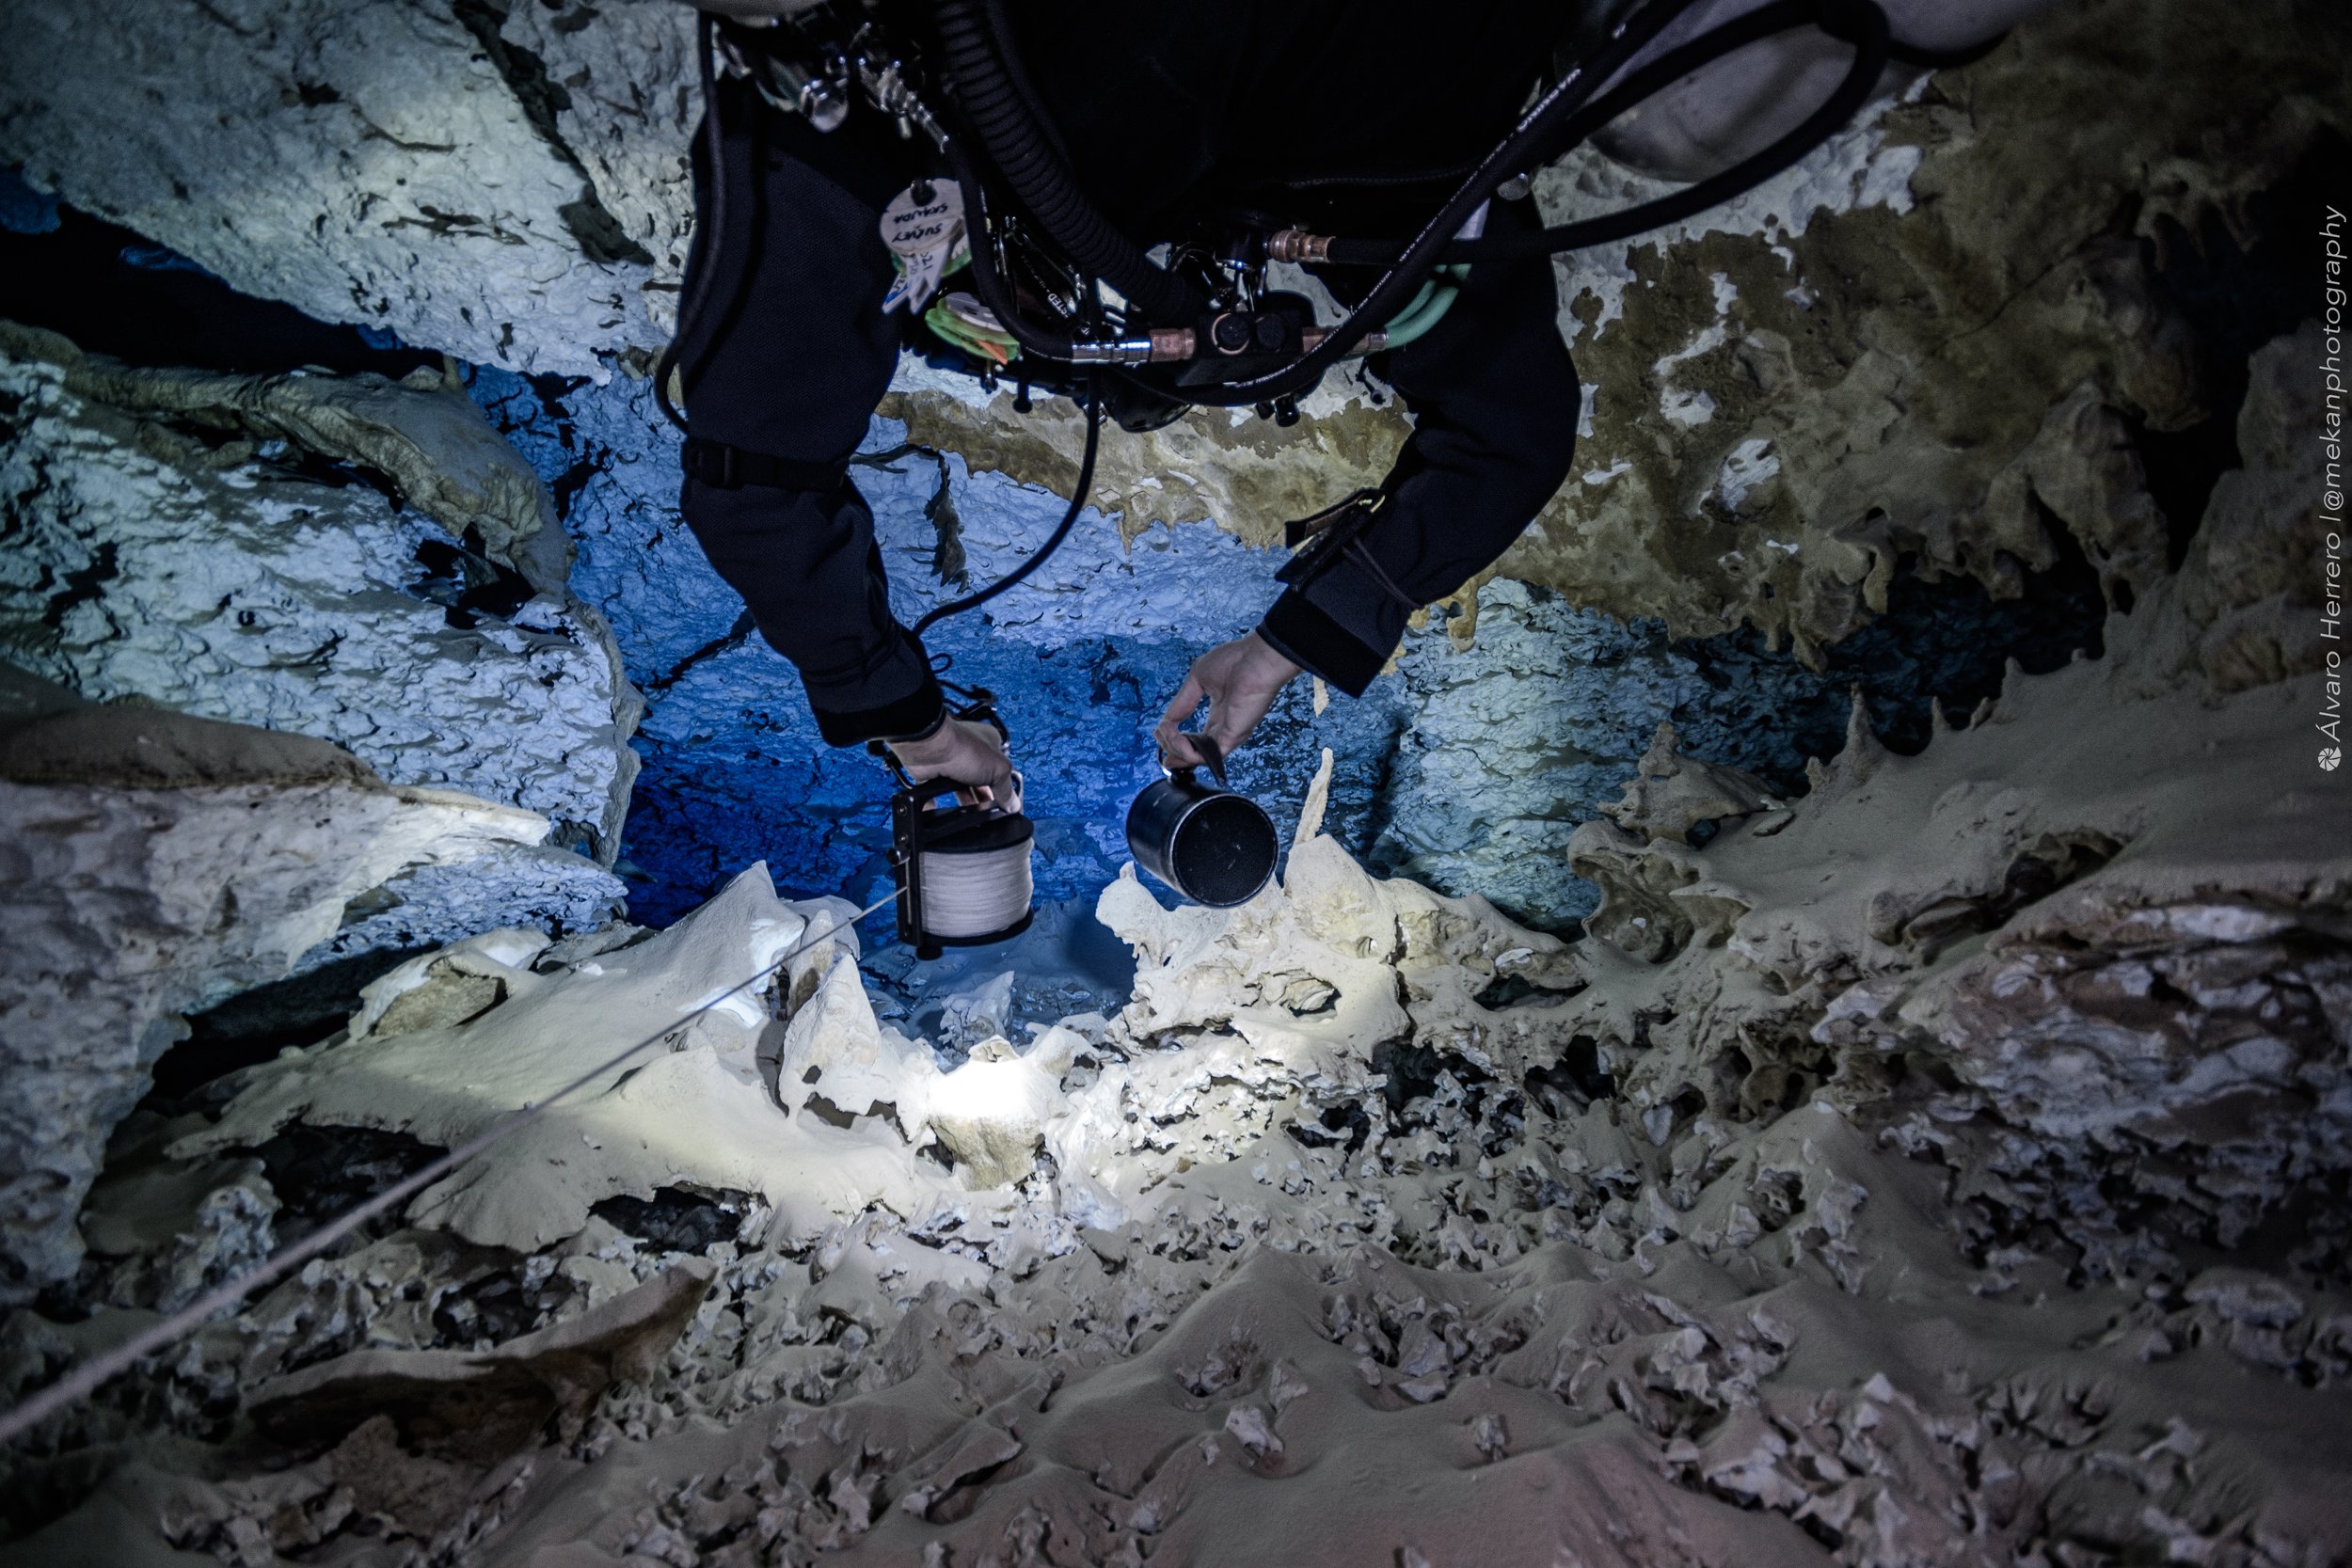
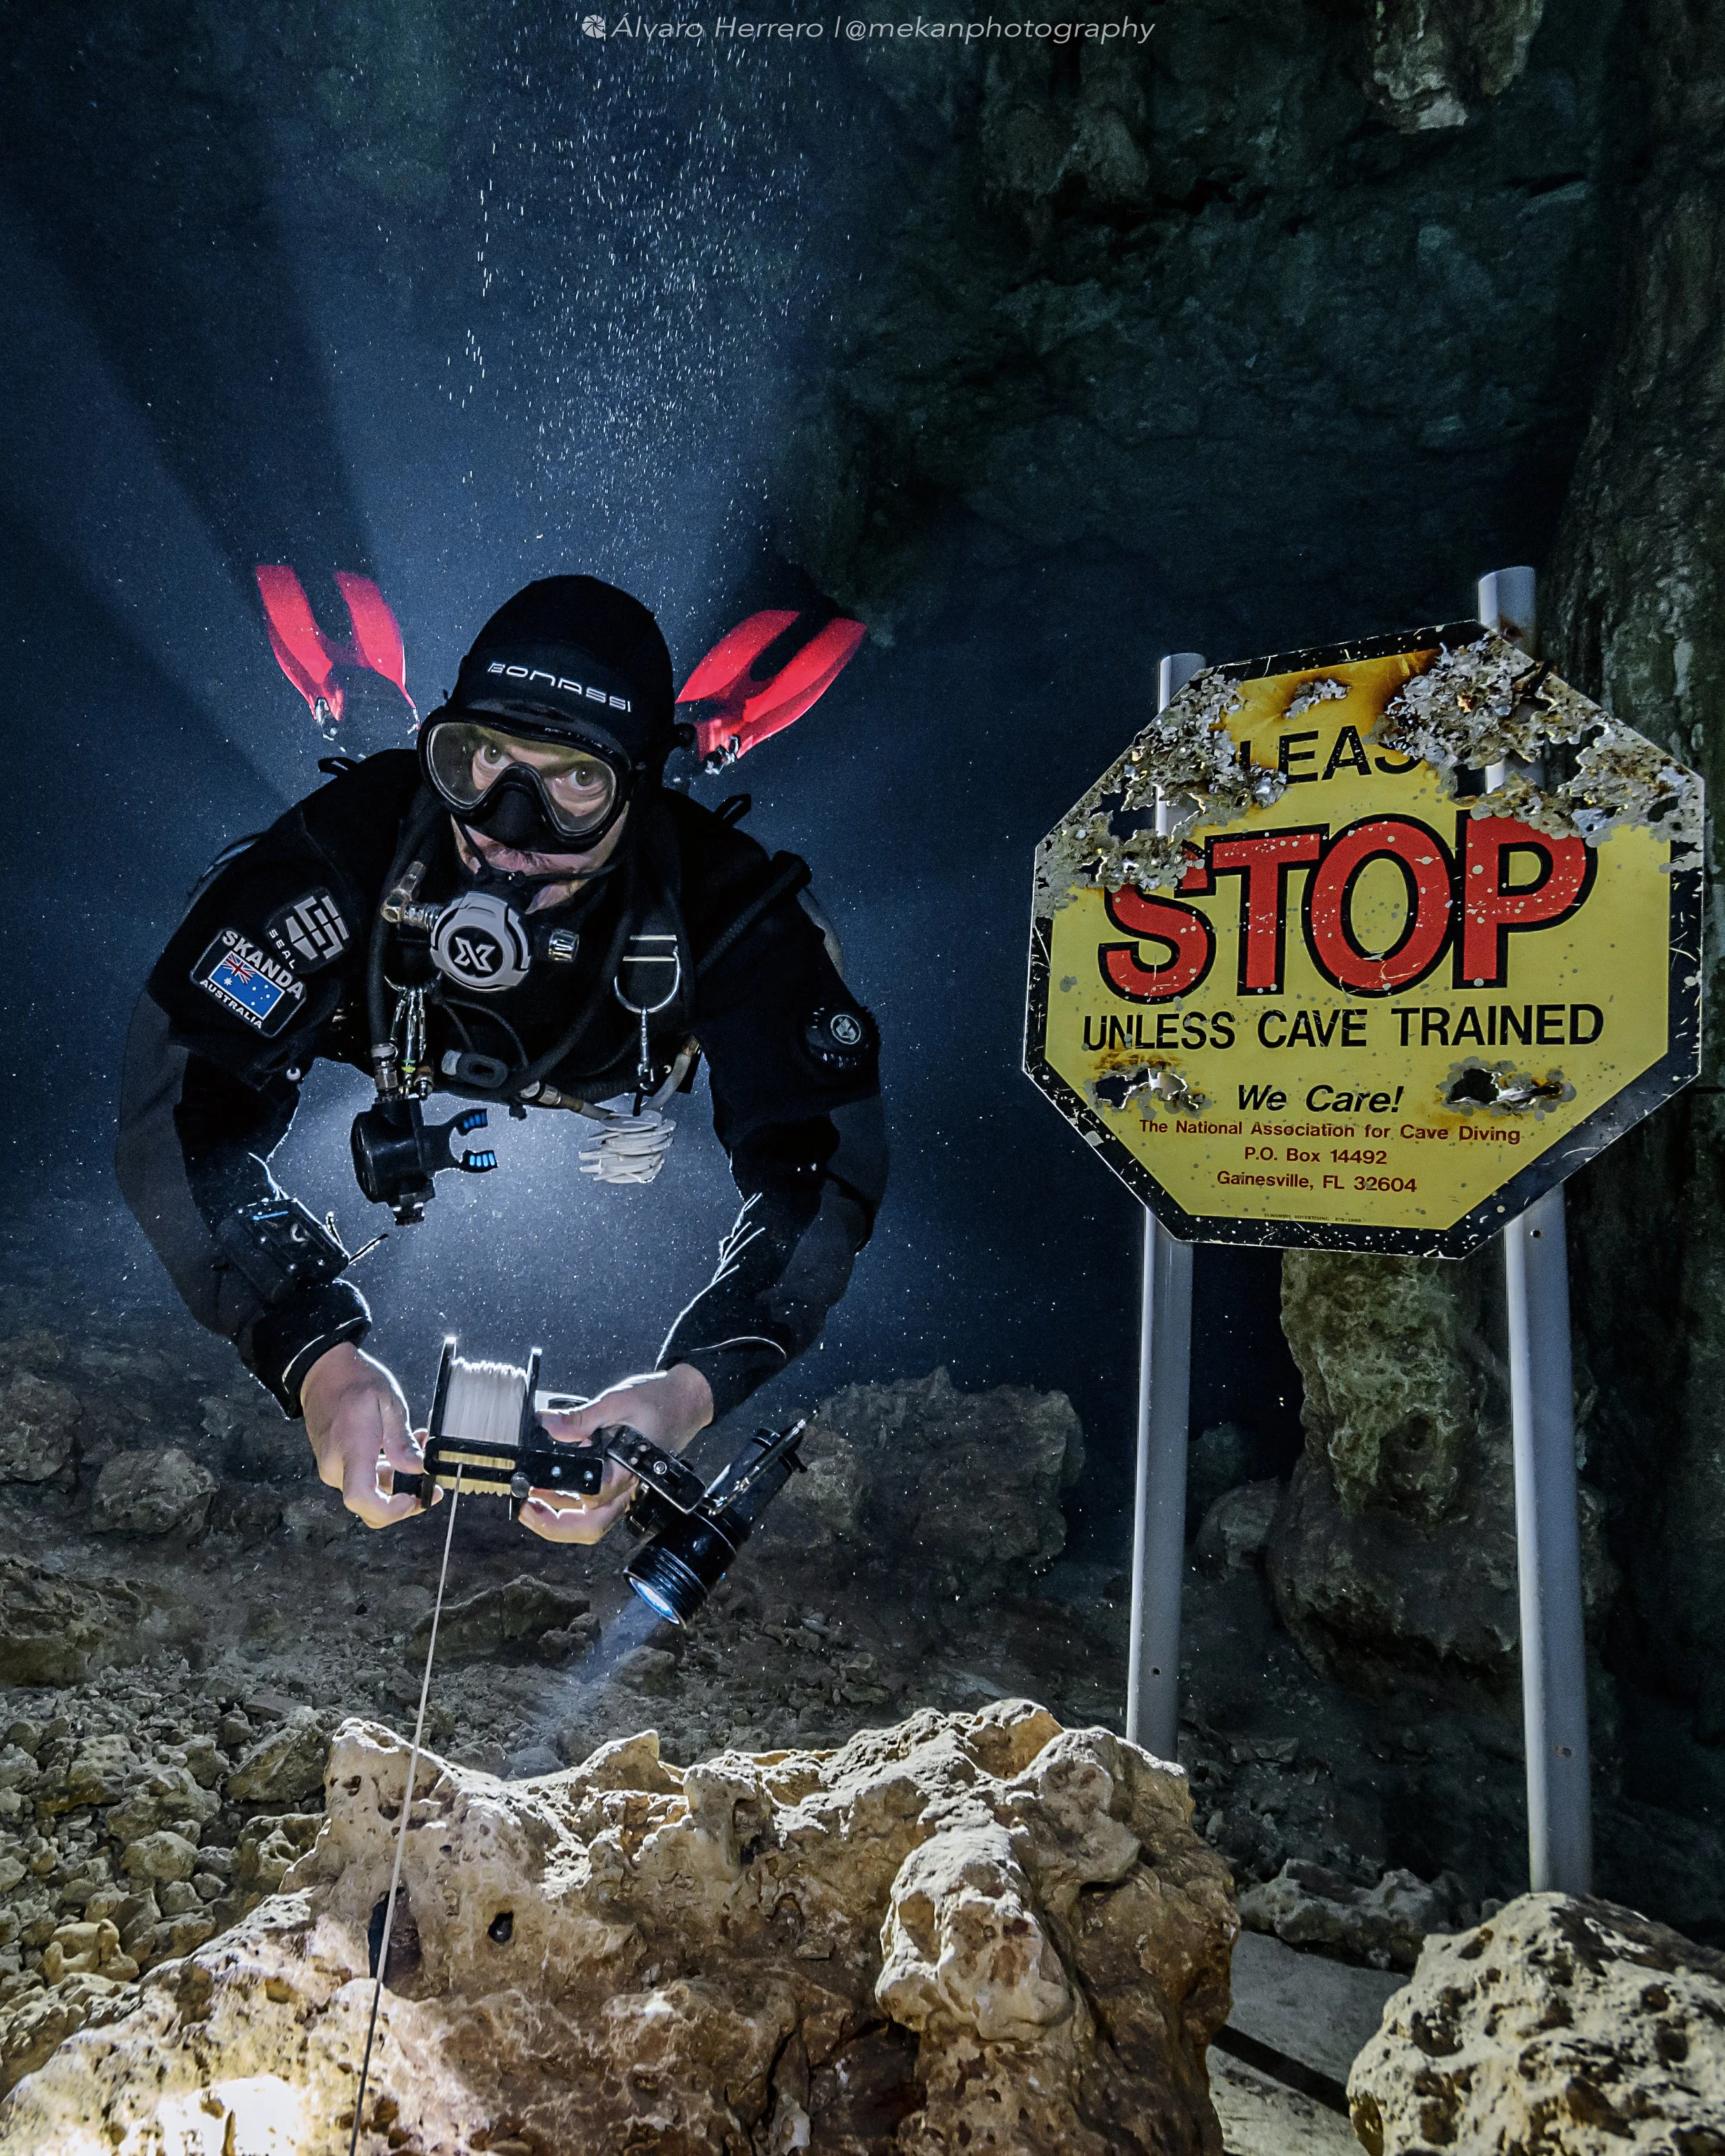
Ready to connect to the main cave line (Photo by Alvaro Herero)
NUMBER 1. Master the Chain of Command: Buoyancy First
On land, running a reel, making tie offs and connecting to another line is easy. The difference underwater is we need to manage our buoyancy while practicing cave diving reel techniques. Not managing buoyancy is a fairly common mistake I see when teaching cave diving class or diving with divers who might not practice with a reel regularly. Picture yourself coming down a slope into a cavern, as you descend the gas in your wing (and drysuit / rebreather) will start to compress and you will need to compensate for this by adding more gas. If you don’t manage buoyancy with one of your gas spaces you can compensate a little bit with your breath (if open circuit) - a big inhale would slow your descent down and keep you off the bottom while you make a tie off. But as soon as you need to exhale and take another breath, you will come crashing down. Changing your breathing rhythm will not work if you have to take a little bit more time than it takes to make your tie off than you can hold your breath. And so you will lose your buoyancy and crash on the floor (or push off with your hand), or rush through the tie off and leave behind an average line. Making buoyancy the most important part of line laying - or following the ‘chain of command’ where buoyancy, trim, position and then the action is the order of priority will help with this. As soon as you are neutrally buoyant and stable, line laying becomes far easier.
Laying line into a new cave passage, while lighting it up for documentation! (Photo by Alvaro Herero)
NUMBER 2. Choose the right size reel for your skill level
This might sound like a strange tip, but size does matter! Trying to learn to run a reel is a challenging skill, and the bigger the reel the more difficult it is to use. From making tie offs - working with the reel in hand to wrap the line around a rock - to just dealing with the weight of a bigger reel, bigger is not better! I have had students arrive with 800 foot exploration sized reels, with the intention to one day use these for exploration. But it’s like any new skill, start off making your life easy- like when learning to ride a bicycle kids first start with training wheels, once they have mastered balance then the wheels come off! For most people a 400 foot primary reel is a fine size to use, but if you have small hands then perhaps a 200 foot reel would be a better fit. It is very rare that for a mainline connection we would actually use the full length of a 400 foot primary reel, so this size is not really necessary.
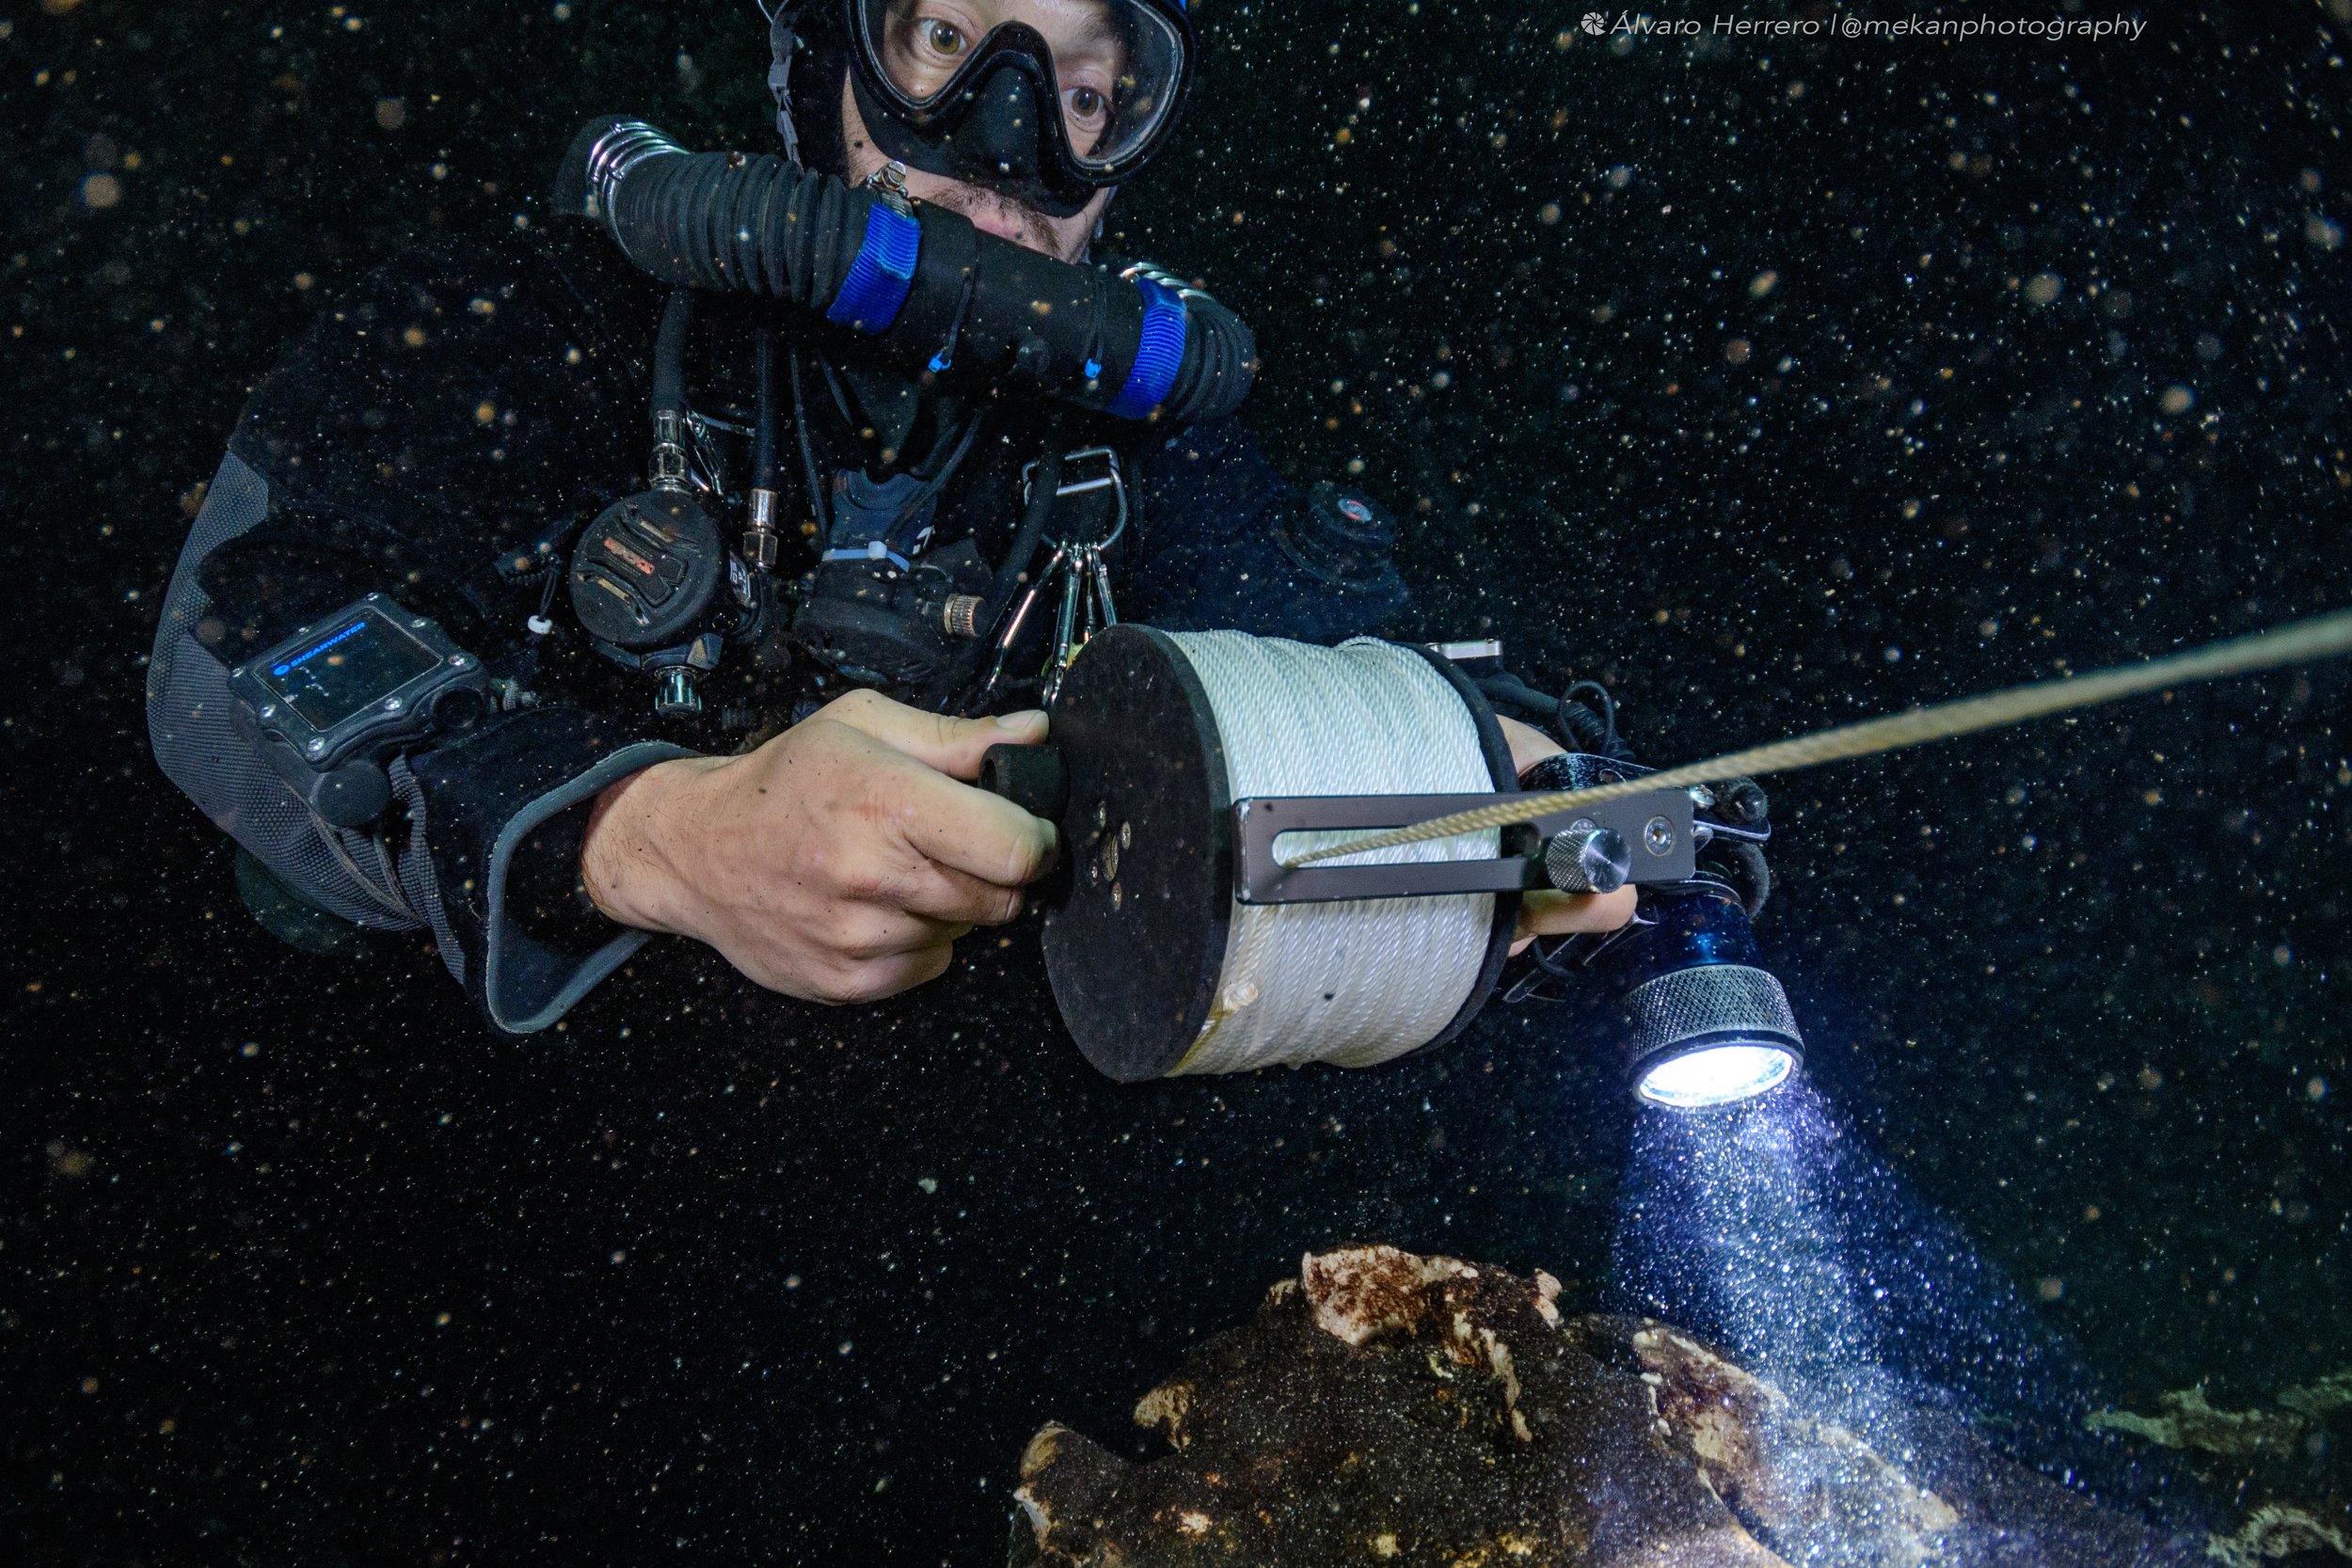
Reeling in using my 800 foot exploration reel and primary light with goodman handle (Photo by Alvaro Herero)
NUMBER 3. properly adjust your Goodman handle
A primary light with a goodman handle should make running a reel easier. However, many many times I have had students attempt to use one that was not set correctly and becomes a fight to use properly. If the goodman handle is too tight, it causes some pretty uncomfortable rubbing on the top of the hand. If it is too loose it tends to slip off the hand past the knuckles. I have found that goodman handles are often too big, designed for thick neoprene gloves or dry gloves. If this is the case, then use a glove to take up some of the space so that you have a handle that stays in place while using the reel. Why do you want a goodman handle for your light? Well now you can hold the reel and the light in the same hand, leaving your right hand free to adjust buoyancy, equalise ears, and communicate.
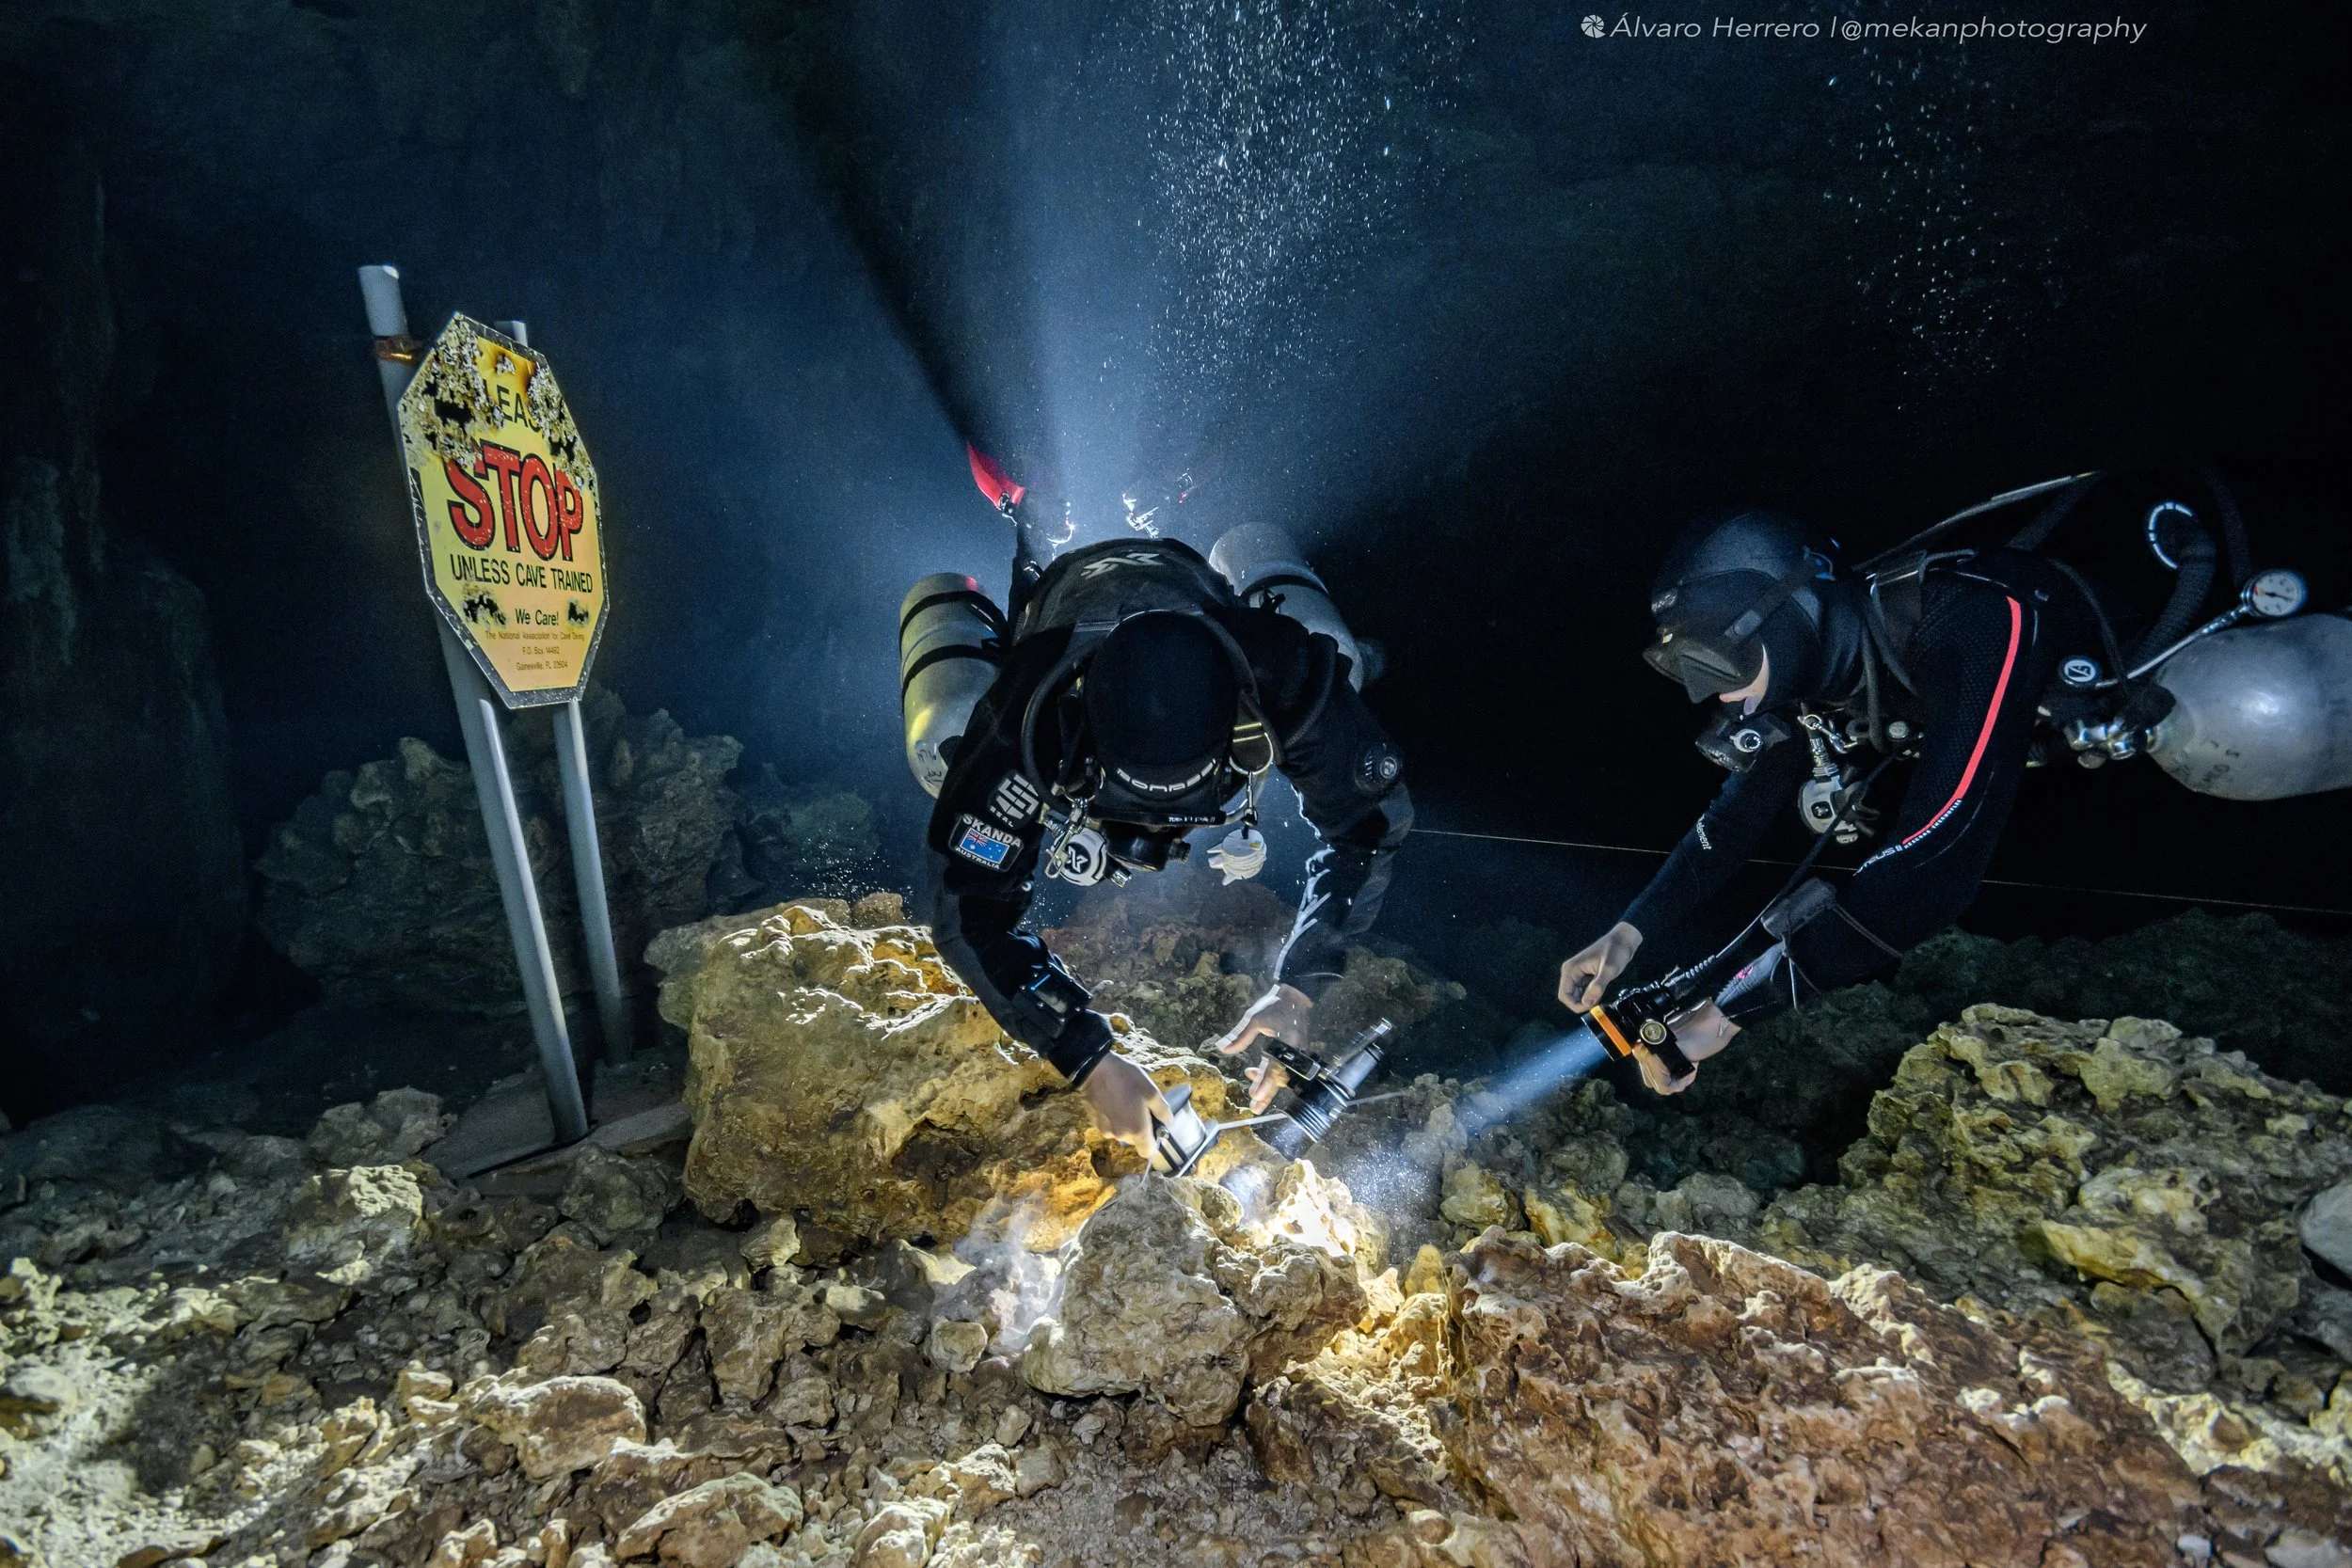
Line laying also requires team work, and each member will have different roles and responsibilities. (Photo by Alvaro Herero)
NUMBER 4. pick your route then Connect the dots
Often when laying a line during training, or if we visit a new to us cave we don’t know where exactly the line starts or where we want to route our line. Generally, we can try to route our line along either wall or up the middle. Pick your place, and try to stay ‘in your lane’ so to speak, this is not always easy especially when having to manage running the reel around other teams’ lines. As you head into the cave, pause after finishing your tie off, back reference along to the previous tie off to make sure it is straight and not hooked on anything, then look for your next tie off and then swim there. By selecting the rock, outcrop or other feature to swim to, you will run a straight line - as soon as a team leader starts changing direction while swimming they can put the other team members off the line, or out of position, or cause the line to be pulled into a line trap. Even if you arrive and don’t find something that works to tie your line onto, you will have gone in a direct line and can then find something close by to tie off to.
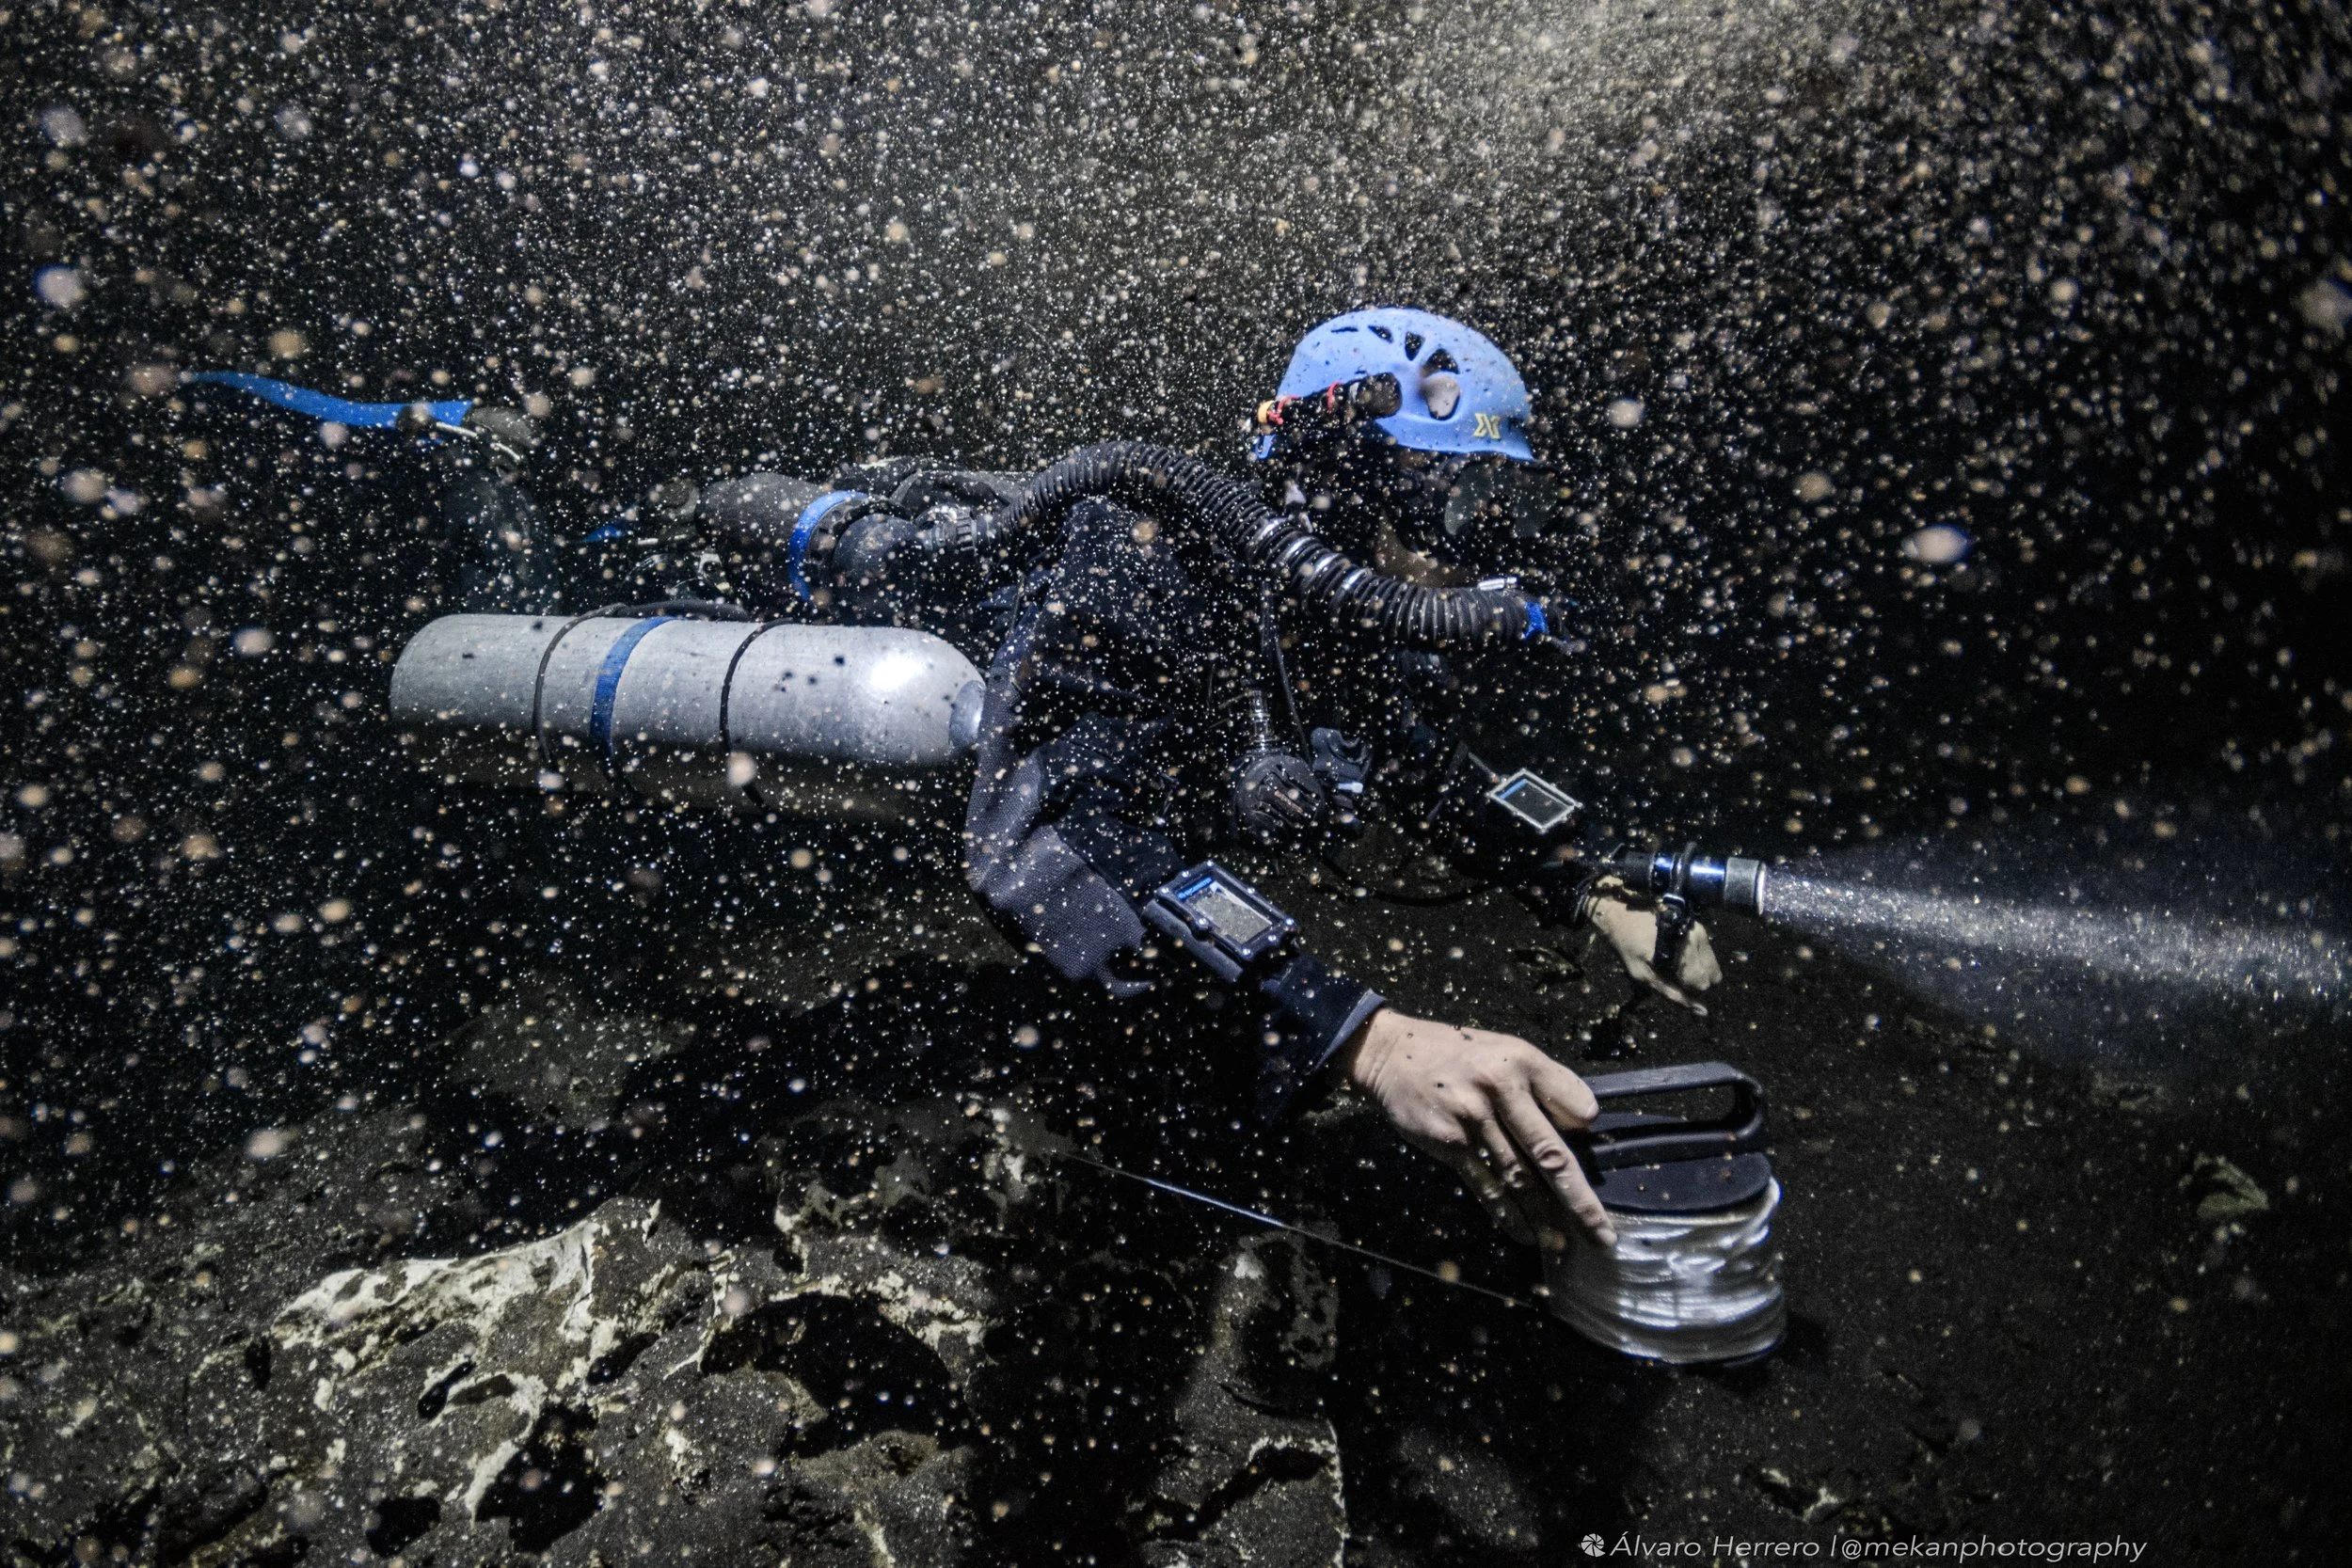
Reeling back towards the cenote after a cave diving course training dive, the goodman handle is slipping. (Photo by Alvaro Herero)
NUMBER 5. Dynamic Vs static line, choose wisely
The type of line that you have on your primary reel can have a real impact on the ease of use. A static line that does not stretch when you are making tie offs is a bit harder to use. This is because you need to maintain constant tension on the line while making a tie off, and slip in the tension and the line might not be quite as tense as it should be. This is also why using kevlar or flat, non-stretch line might not be ideal or make your line laying experience more challenging. Changing out your static line for dynamic line will make this easier to do.
Enhanced Safety Through Redundancy
Line laying, especially if not practiced much (and lets be honest, after the cave training many of the caves here in Mexico have lines that start in open water or out of the water so no reel required) is one of the most challenging cave diving skills. This is because we need to be neutral while working, but when task loaded or focused this can be hard. Hopefully these five tips will help divers with your own line laying!
Ready to Improve your line laying??
I have extensive experience teaching line laying, based on real life exploration. I can help you improve your own line laying through workshop style training.